Blog Settings Overview
Written By inblog Team
Last updated About 1 year ago
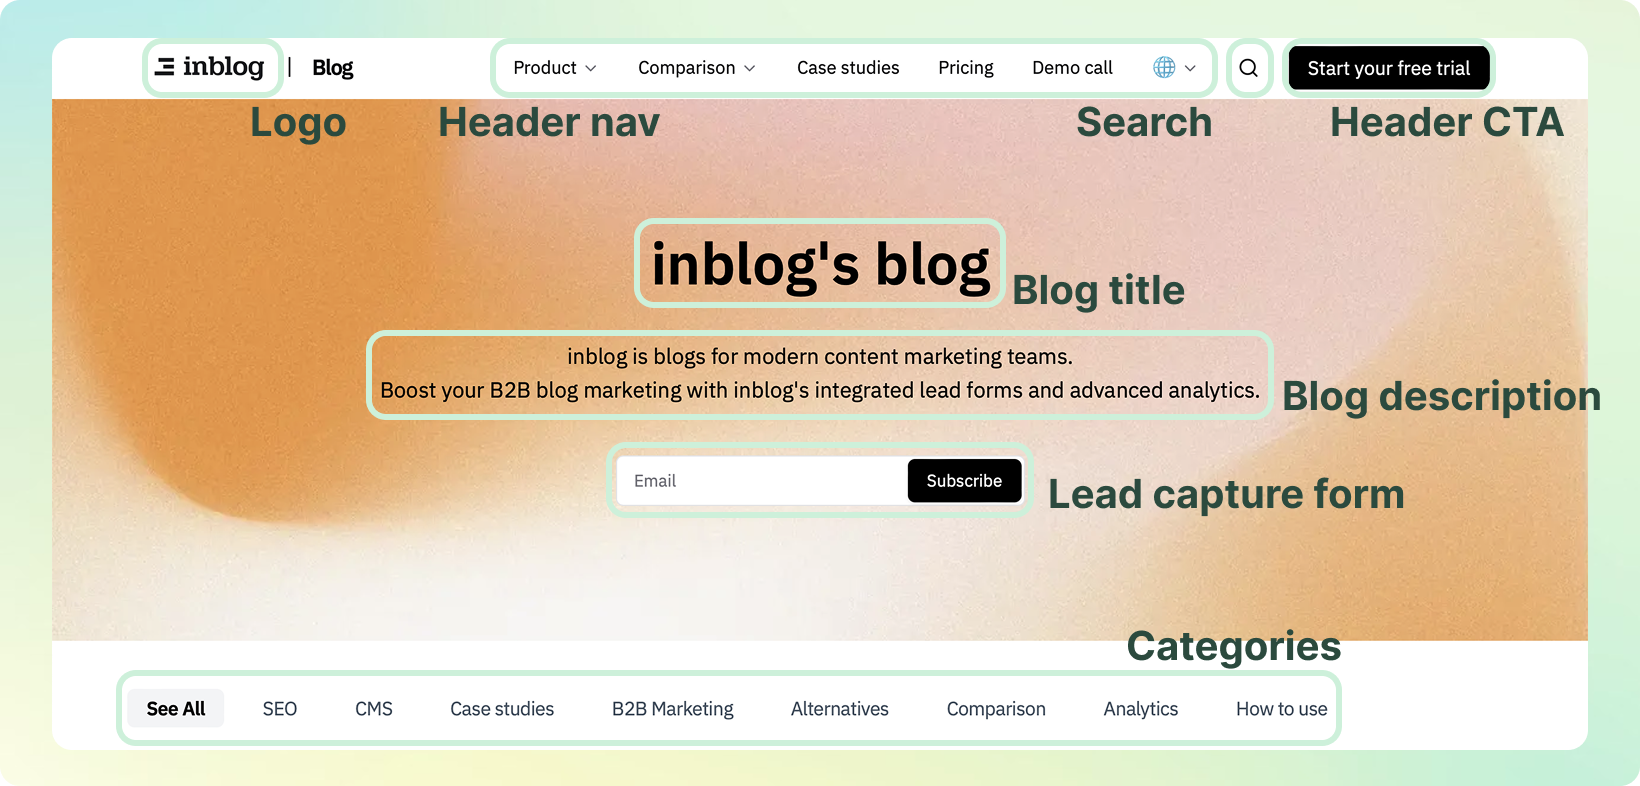
Once you’ve completed the initial setup on inblog, you’ll have your own branded company blog—fully customized without writing any code.
Examples:
From your blog dashboard, click More settings in the left sidebar. Here, you can manage all core settings in a no-code interface.
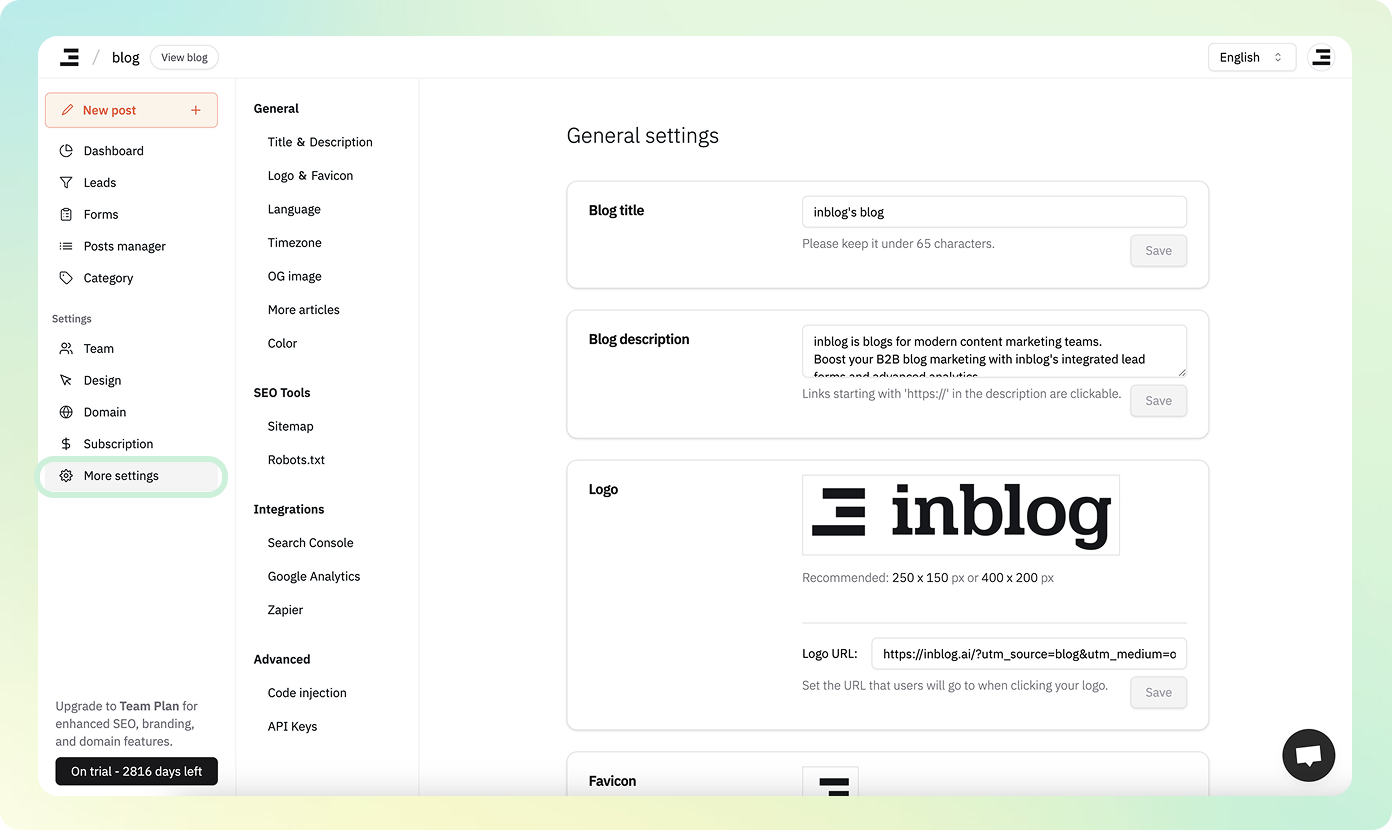
General Settings
Blog Title & Description
Customize the blog’s main title and description as it appears on the homepage.
Logo & Favicon
Upload your blog’s logo (recommended size: 250×150 or 400×200)
Set a destination URL for logo clicks (usually your main website)
Upload a square image for the favicon
Language
Select the primary language of your blog. This will be reflected in the hreflang meta tag for SEO optimization.
Timezone
Set the timezone for your blog dashboard.
OG Image (Open Graph)
Set the default image that appears when your blog is shared on social media or messaging apps.
Recommended size: 1200×630
Related Posts (“More Articles”)
You can customize how related content appears at the bottom of each blog post.
Display name (e.g., “Related Articles”)
Rule for displaying posts:
Scope:
Entire Blog
Same Category
Logic:
Closest publish date
Latest posts
Random posts
You can also define related posts manually per individual post.
Preset Colors
Set up brand colors for use across the blog—particularly for CTA buttons and accent elements.
👉 See what an inblog-powered blog looks like
SEO Tools
Sitemap
robots.txt
Configure to allow or restrict search engine crawlers as needed.
Integrations
Google Search Console
See: Tutorial Step 2 – Connecting Google Search Console
Google Analytics
Add your Google Analytics Measurement ID to start tracking performance.
Zapier
Connect inblog to your favorite tools such as CRM or email marketing platforms using Zapier.
Advanced Settings
Code Injection
Inject scripts into your blog’s <head> or <body> to integrate third-party tools (e.g., Mixpanel, Amplitude, etc.).