Setting Up Lead Forms for Individual Posts
Written By inblog Team
Last updated About 1 year ago
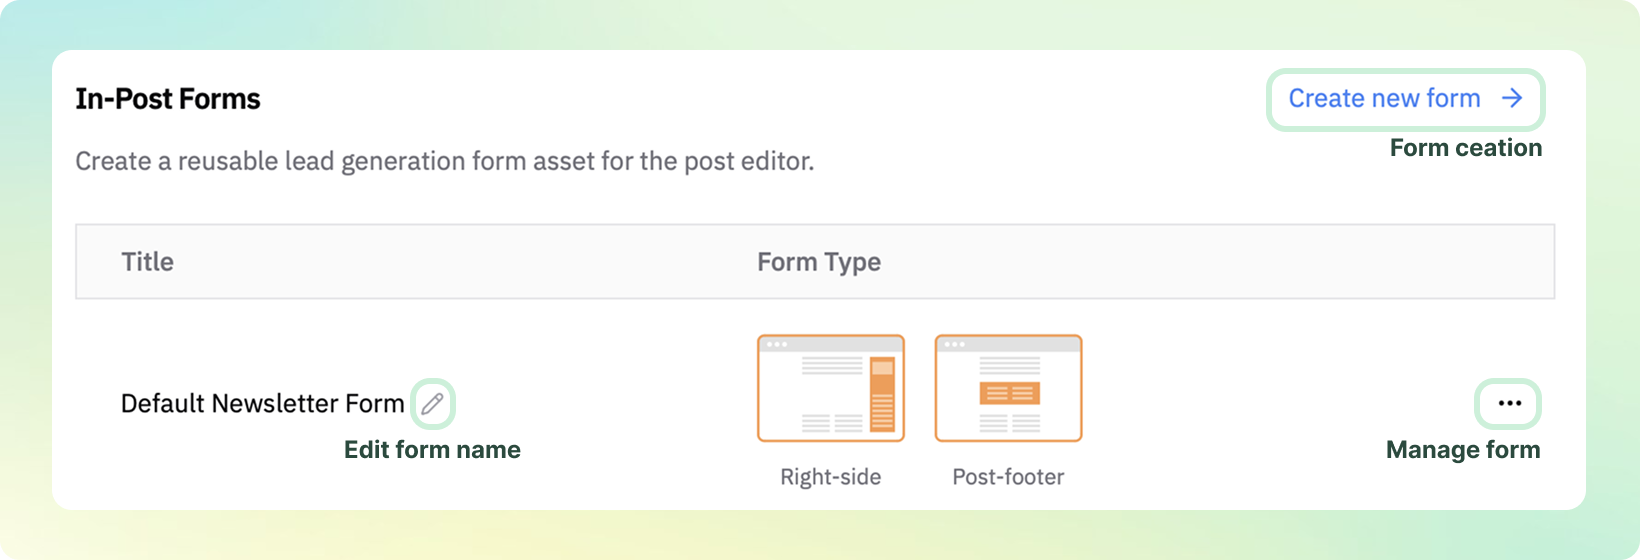
To manage lead capture forms for individual blog posts: Go to Forms → In-Post Forms from the left sidebar.
1. Configure the Form
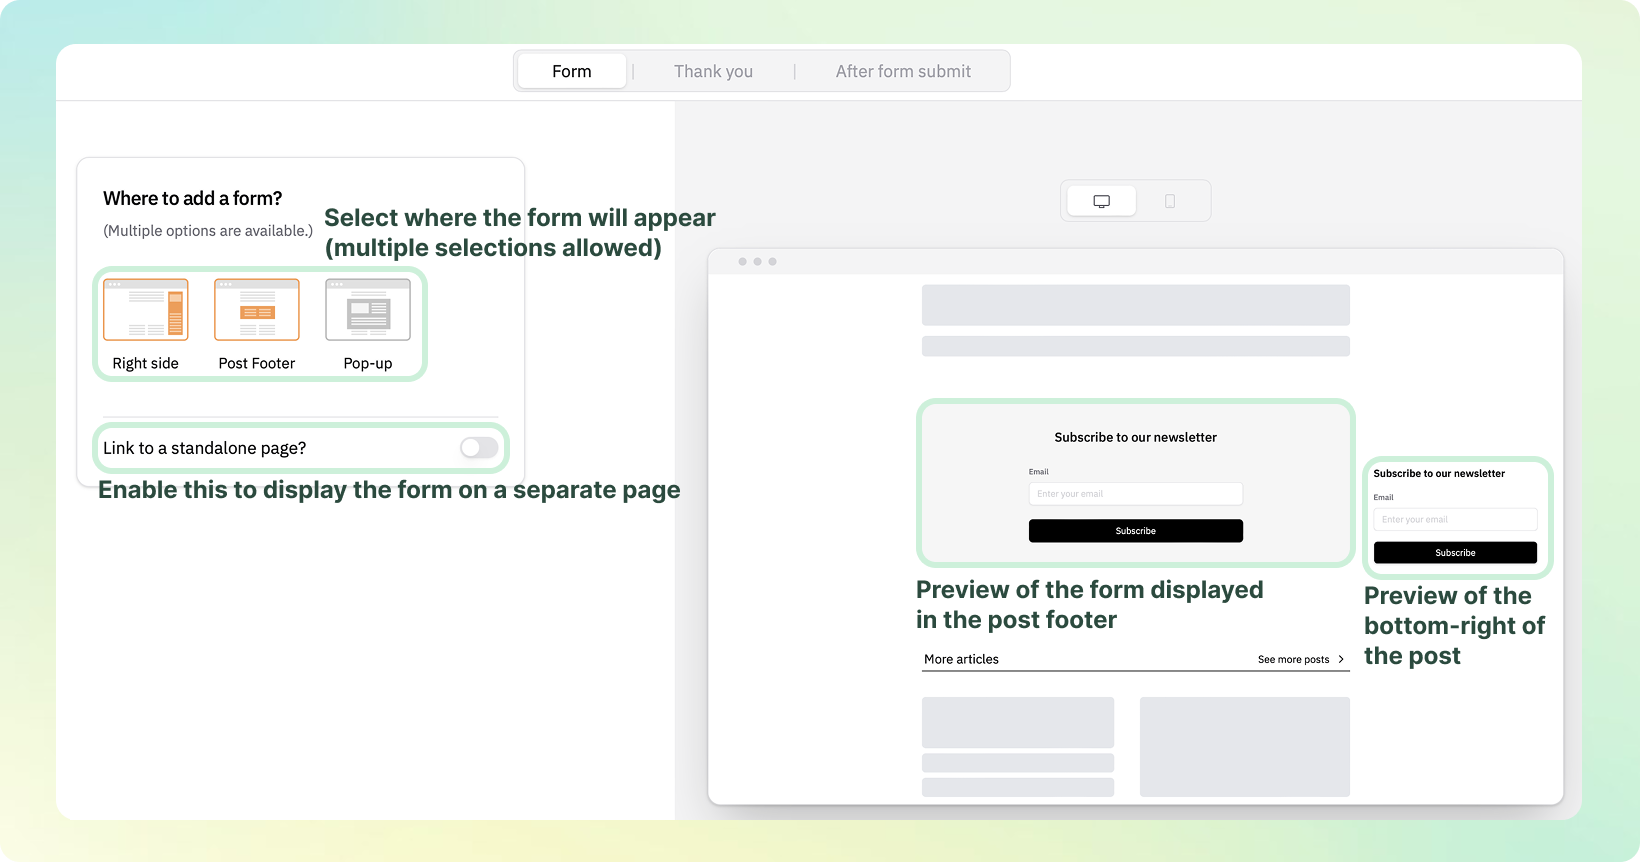
Choose the placement and visibility of the form within a post:
Right Side
Display the form below the “More Articles” section in the lower-right corner.
Post Footer
Display the form at the very bottom of the blog post.
Pop-up
Trigger a pop-up form when the reader scrolls approximately 50% down the page.
Want to direct users to a separate form page? Click
Link to a standalone page?to generate a form landing page.
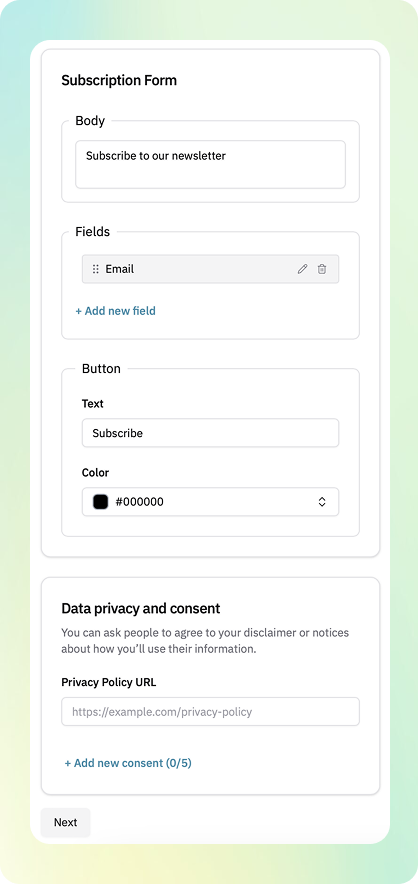
You can customize form content and fields similarly to how you configure the Header Form, including questions, input types, and privacy policy links.
2. Set the Success Message
Display a custom thank-you or confirmation message after the user submits the form. This works the same as in the Header & Banner forms.
3. Configure Follow-Up Emails
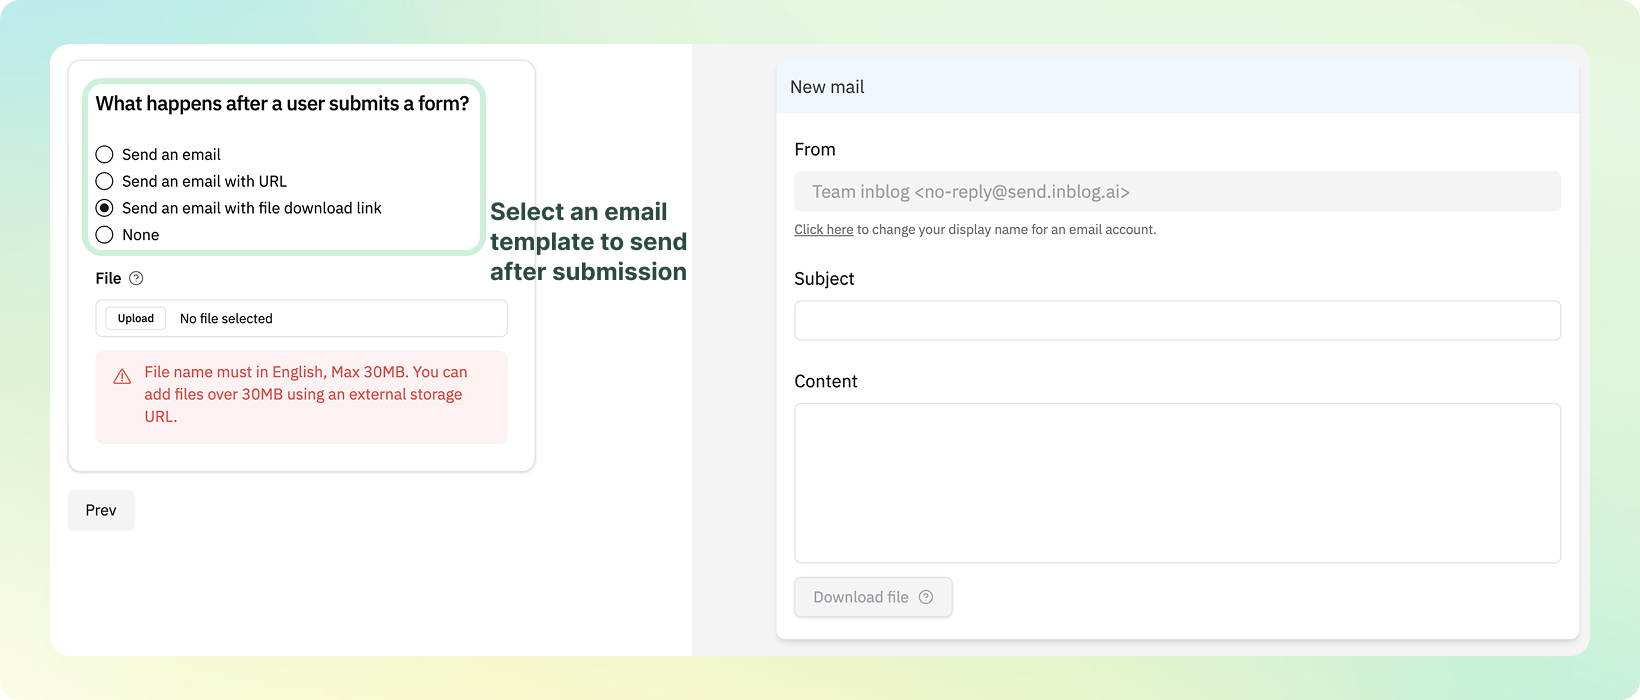
Set up an automatic email response to the user after they submit the form. You can choose from the following options:
Send an email only
Deliver a basic follow-up or thank-you message.
Send an email with a URL
Include a link (e.g., to a landing page or resource).
Send an email with a downloadable file
Attach a downloadable asset.
⚠️ File size must not exceed 30MB.
None
No follow-up email will be sent.