Connecting a Custom Domain
Written By inblog Team
Last updated About 1 year ago
The domain setup section of the SEO tutorial may require assistance from a developer, particularly for DNS configuration or code implementation. If developer support isn’t available, feel free to skip this step and continue with the next section.
Need help with domain setup? Book a technical support session here
You can connect your inblog-powered blog to your company’s domain in one of two ways:
Subdomain (e.g.
blog.example.com)Subdirectory (e.g.
example.com/blog)
Subdomain Setup
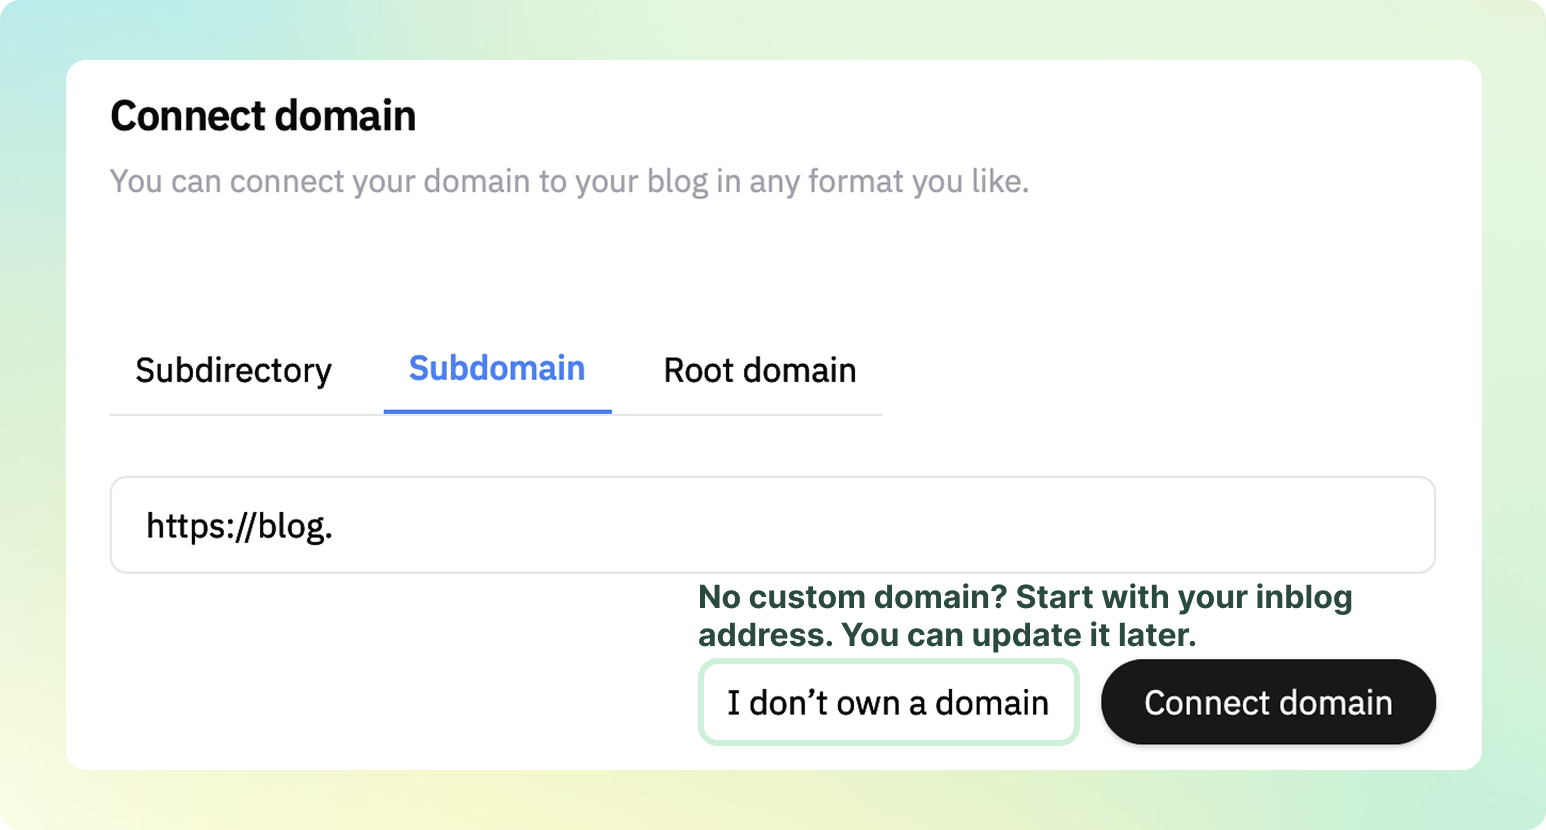
In the Custom Domain settings, select Subdomain and enter the subdomain you want to use.
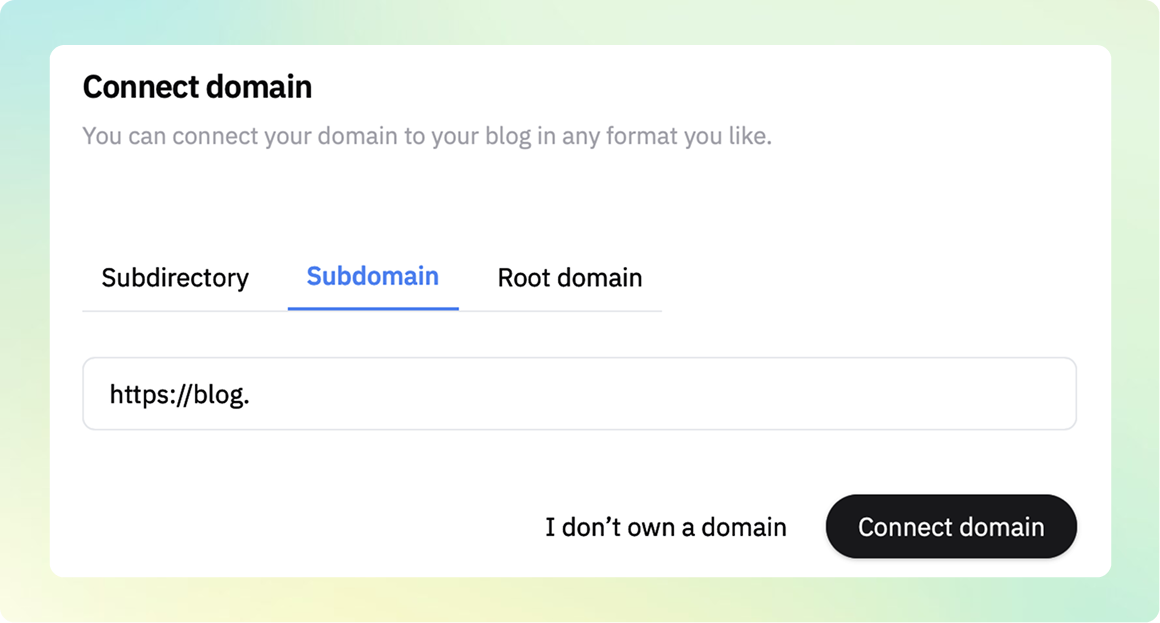
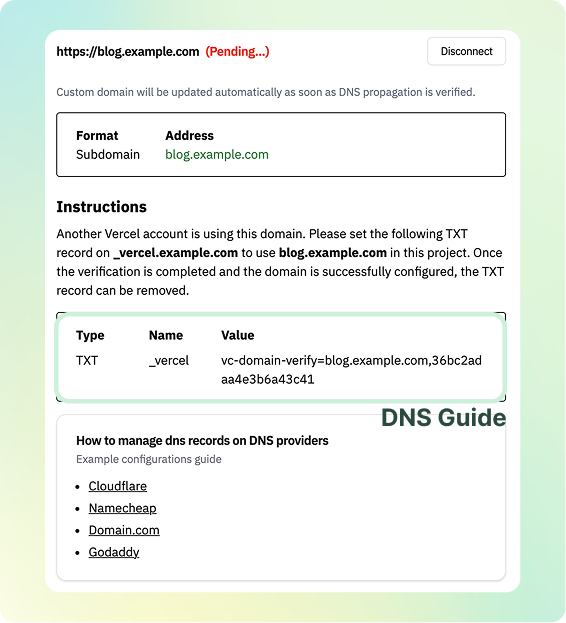
Click Activate Custom Domain, and you’ll receive DNS configuration instructions.
Update your DNS settings through your domain provider (e.g., GoDaddy, Namecheap), and your subdomain will be connected within 5 minutes.
👉 Need help? Book a technical setup session here
Subdirectory (Sub-folder) Setup
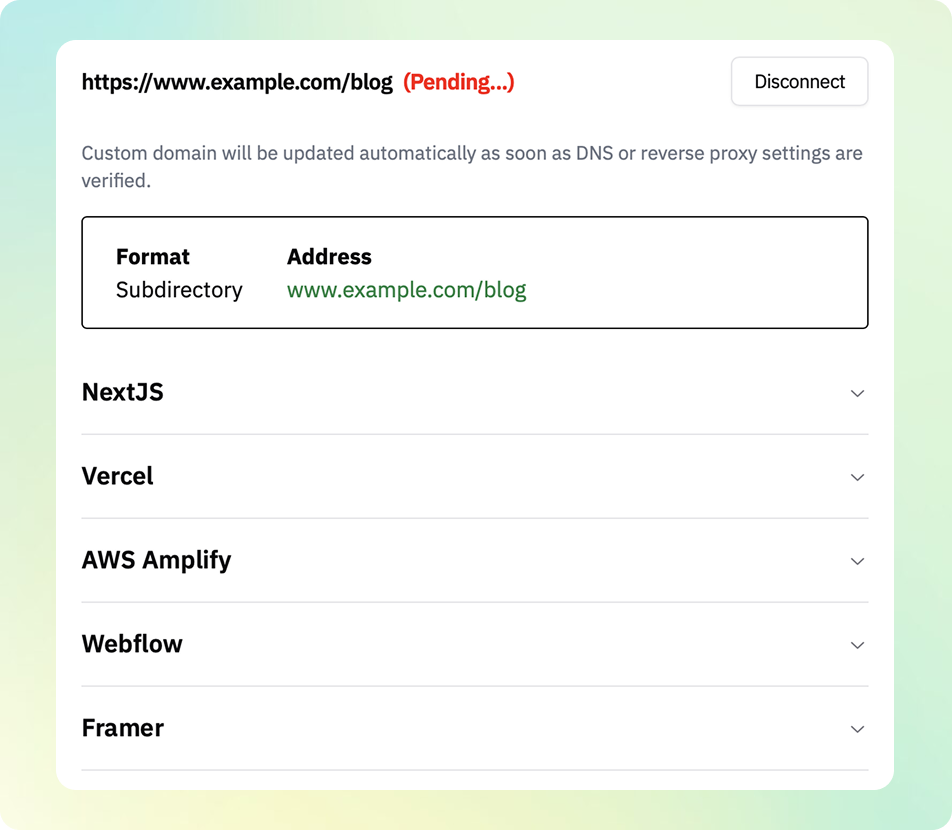
Important: Subdirectory connection is currently supported only for websites built with Next.js, Vercel, AWS Amplify, Framer, and Webflow.
Next.js: Supported, except for static export
Vercel / AWS Amplify: Supported as hosting platforms
Framer / Webflow: Supported via reverse proxy using Cloudflare
To connect via subdirectory, select Subdirectory in the Custom Domain settings and enter your desired domain (e.g. example.com/blog). Click Activate Custom Domain to access the full setup guide.
Please note: Subdirectory setup typically requires some code implementation.
👉 Need help? Book a technical setup session here
No Domain? No Problem.
If you don’t own a custom domain, you can continue with the default blog domain (e.g., example.inblog.io) by clicking the I don’t own a domain button during setup. You can always switch to a custom domain later.